Admit Card
Note:
- In Any module, the first step is Select Instance (Project).
- This template will utilize the specific "Admit Card" option configured in the Microsite Configuration page of the relevant instance to generate and display the admit card.
The Admit Card module provides access to all available admit card templates for each project, along with an option to upload custom templates as needed.
Types of Admit Cards: There are two types of admit cards available for each instance:
- Recruitment
- Entry
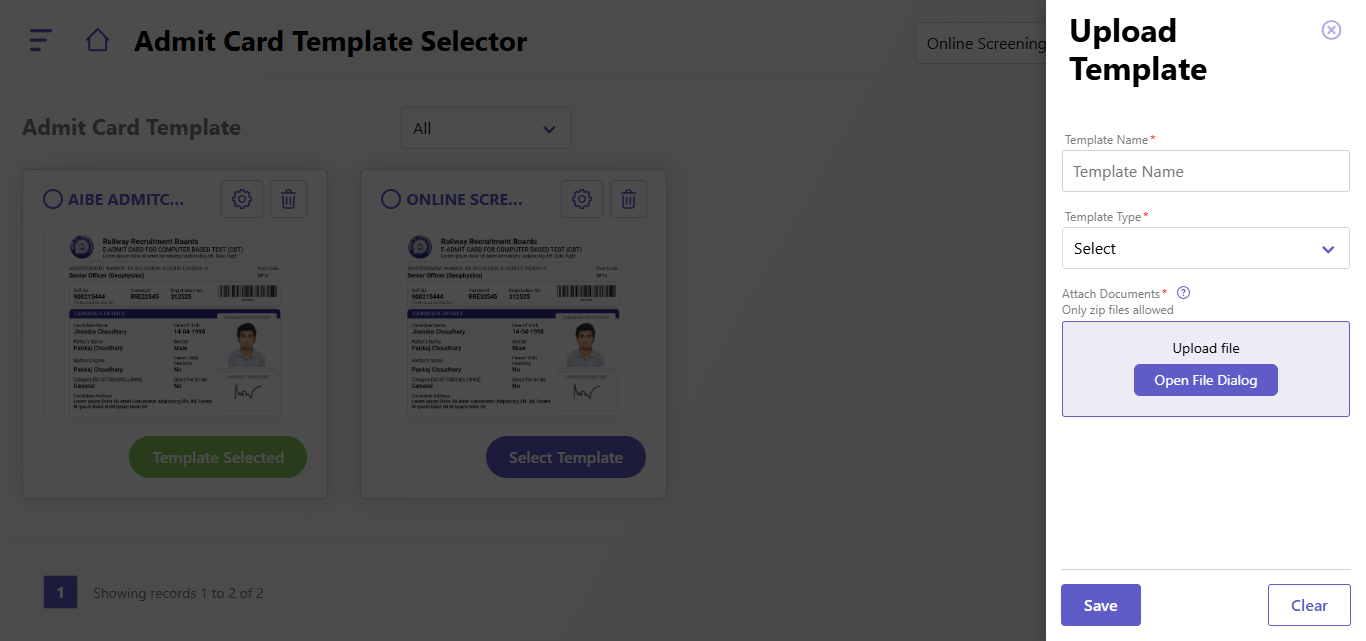
- Template Options: You can either select from existing templates or upload a new template.
- Uploading a New Template: To upload a new template, follow these steps:
- Click on "Upload Template" within the desired instance.
- Enter the Template Name.
- Select the Template Type.
- Upload a zip file containing the following four items:
- _MACOSX
- Images (include all required static images for the admit card)
- Index.hbs
- Index.html (The Index.hbs and Index.html files should align in terms of required fields and design, with all other information kept consistent).
- After Upload the template, click on Setting Icon, then "Admit Card template Configuration" Page , then you can add the Admit Configuration details such as Logo, Roll number, Header title, Candidate Details as so on.
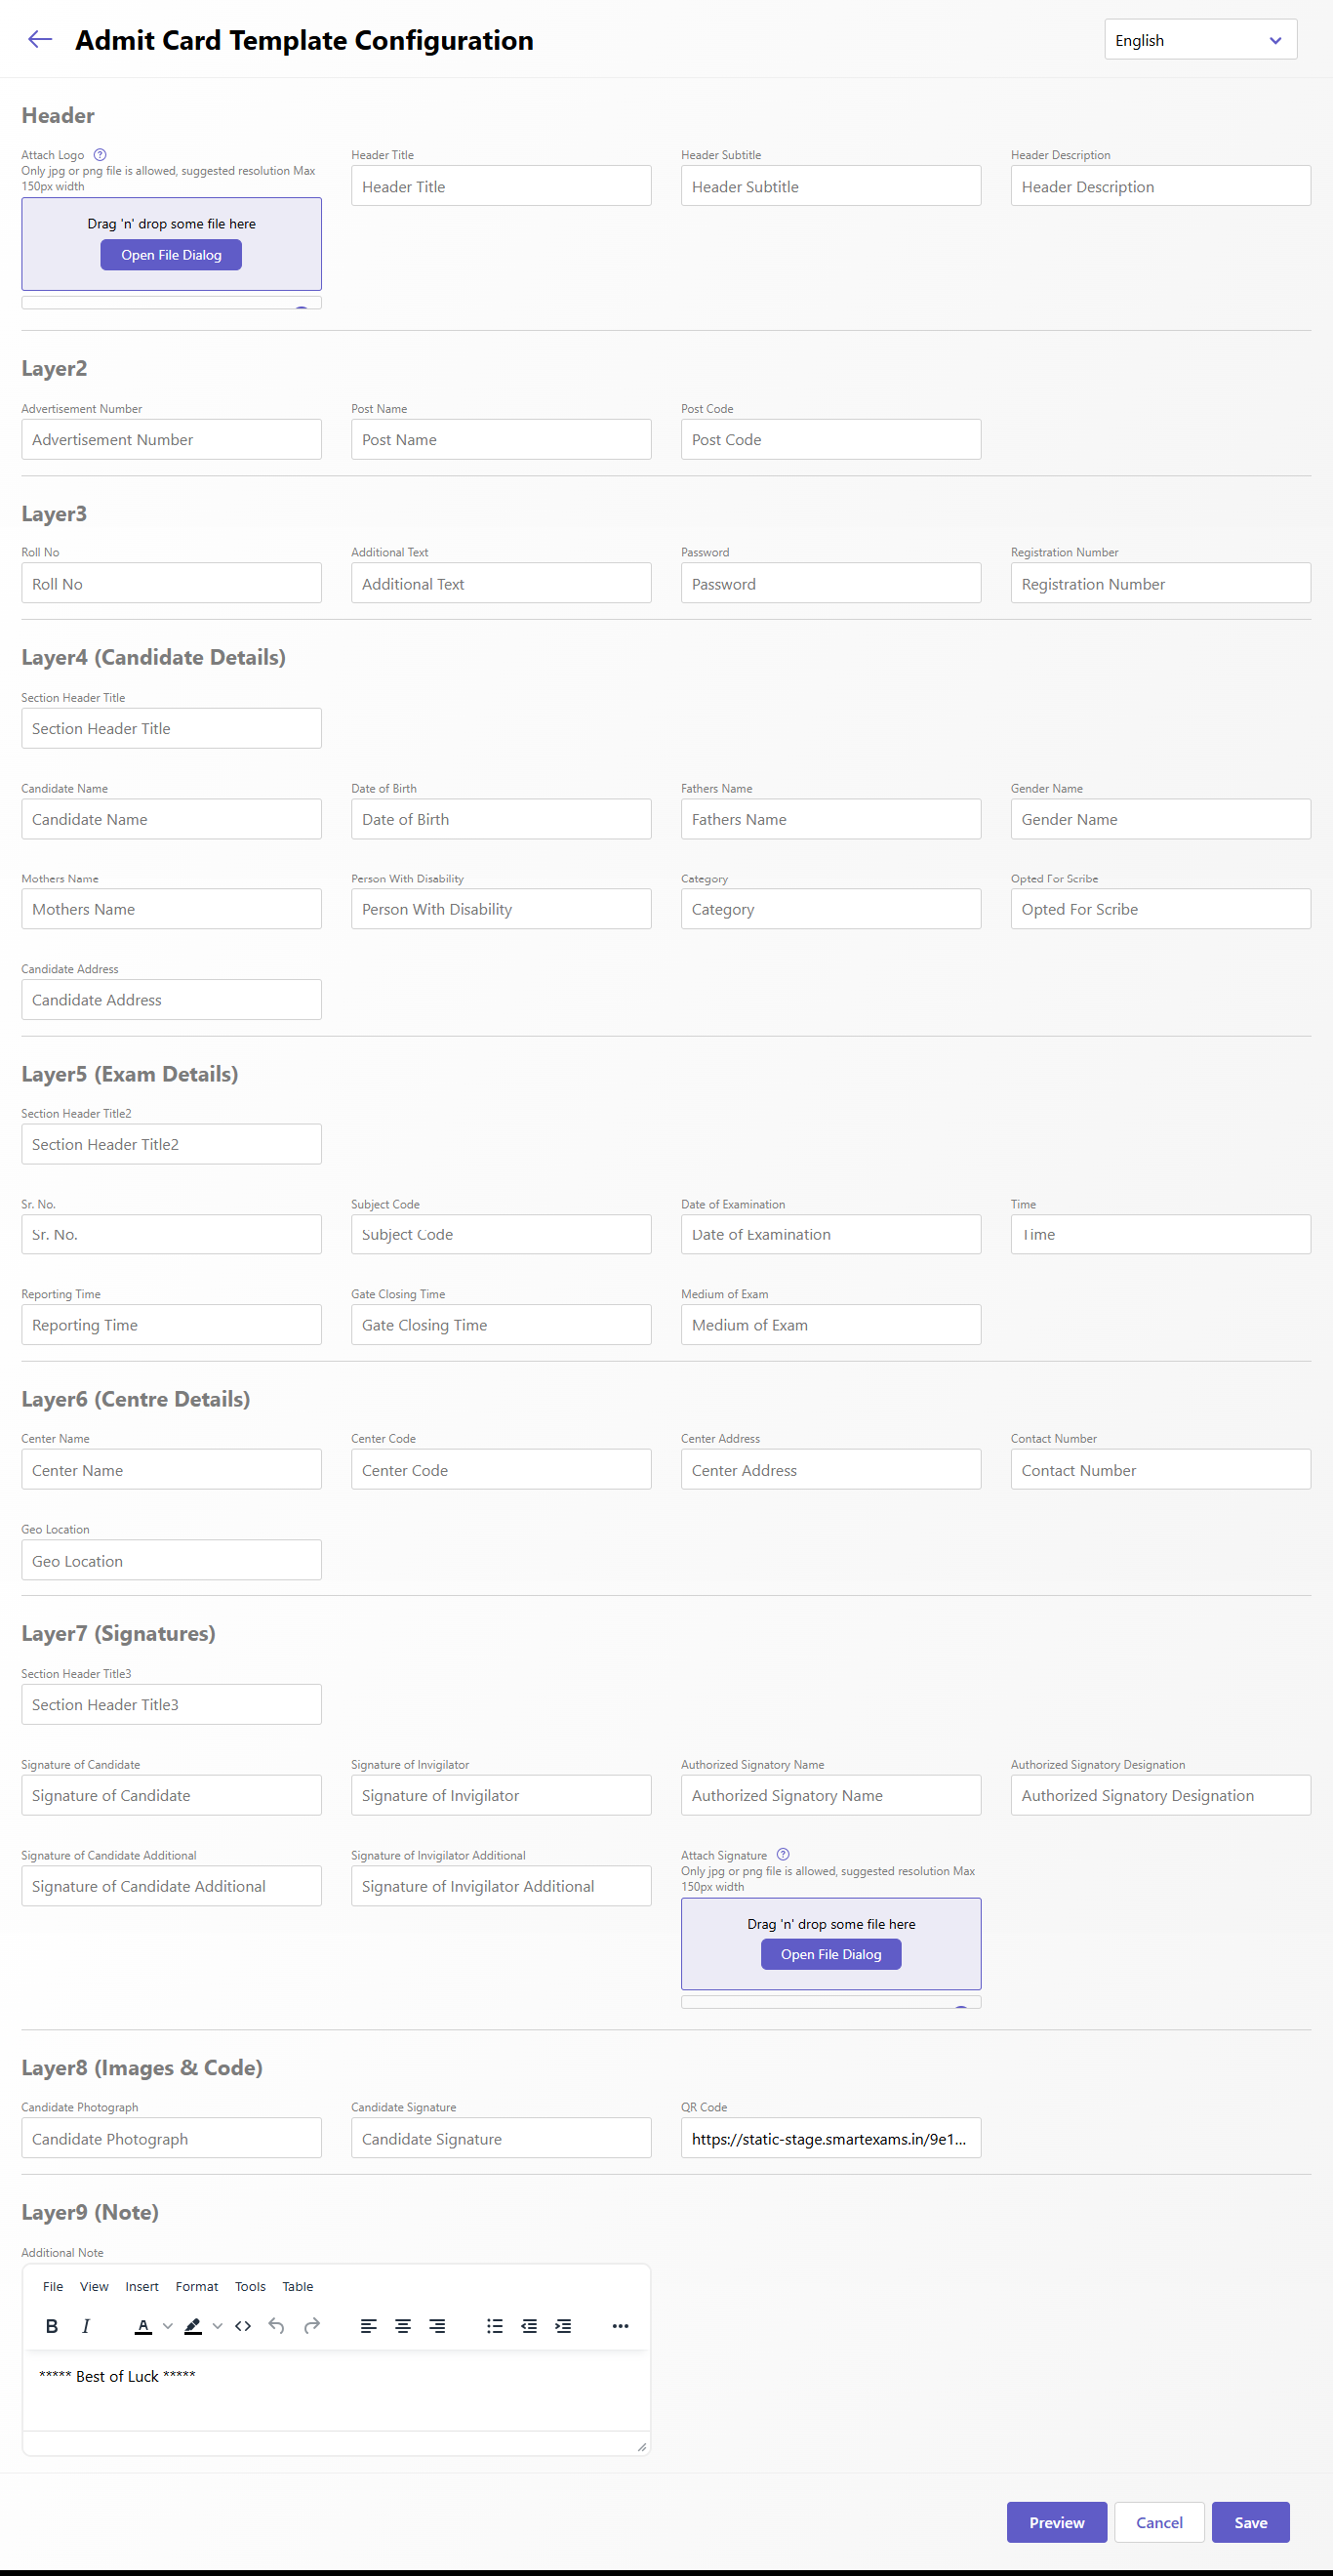
- You can check the "Preview" of the Admit Card by clicking on "Preview Button"
- Click on "Save" button to save the details.
- Then Admit card details will be saved, then go back to "Admit Card Template Selector" page, where you will see the mulitple admit cards and them Click on "Select template" to used that Admit card template for the selected Instance.
Created with the Personal Edition of HelpNDoc: Create help files for the Qt Help Framework