Note:
- In Any module, the first step is Select Instance (Project).
- The Objection Handling module is designed to manage objections related to a specific exam. The objection data is generated and maintained in the Objection Master, providing detailed insights and enabling efficient resolution of objections.
Interface Overview
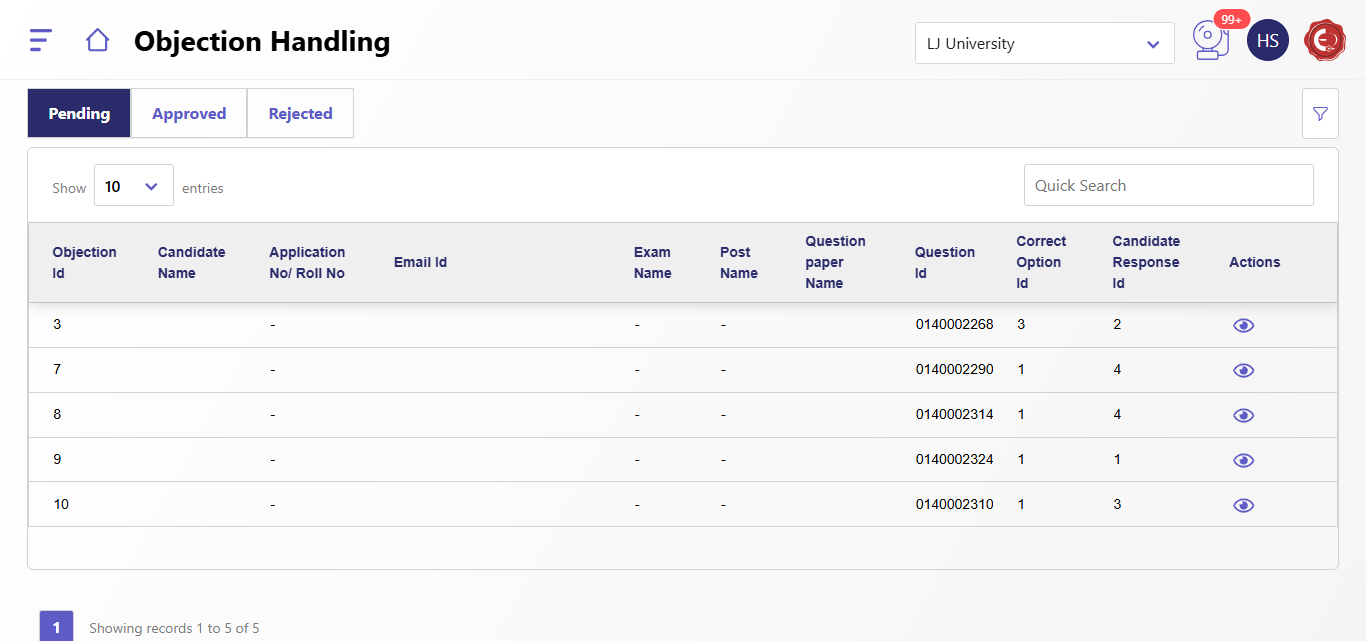
The objection handling system is divided into three sections:
- Pending: Lists objections that are awaiting review.
- Approved: Shows objections that have been reviewed and accepted.
- Rejected: Displays objections that have been reviewed and rejected.
Each section contains the following columns:
- Objection ID: Unique identifier for each objection.
- Candidate Name: Name of the candidate who raised the objection.
- Application No./Roll No: Application or roll number of the candidate.
- Email ID: Email address of the candidate.
- Exam Name: Name of the examination.
- Post Name: Name of the post related to the exam.
- Question Paper Name: Name of the question paper.
- Question ID: Identifier for the specific question.
- Correct Option ID: The correct answer option ID.
- Candidate Response ID: The candidate's selected response.
- Actions: Options to approve, reject, or view details.
Steps for Objection Handling
1. Reviewing Pending Objections
- Go to the Pending tab.
- Locate the objection in the table.
- Use the Actions column:
- Approve (✔): Accept the objection.
- Reject (❌): Deny the objection.
- View Details (👁): Open a detailed view of the objection.
2. Viewing Objection Details
Click the View Details (👁) icon to open a side panel with detailed information:
- Question: The question text.
- Answer: The correct answer.
- Attempted Answer: The candidate's selected response.
- Reference: Supporting material provided by the candidate, including:
- Source type (Book/News/Website).
- Book title, author name, edition, reference page, or official website link.
Click OK to close the detailed view.
3. Approving or Rejecting an Objection
- After reviewing the details, use the appropriate action:
- Approve (✔): Accept the candidate's objection. The system updates the correct answer accordingly.
- Reject (❌): Reject the candidate's objection and provide feedback if necessary.
4. Searching and Filtering Objections
- Use the Quick Search bar to find specific objections by ID or keyword.
- Change the number of entries displayed using the dropdown menu in the top-left corner.
5. Approved and Rejected Objections
- Navigate to the Approved or Rejected tabs to review objections that have been processed.
- Approved objections show the updated status, while rejected objections retain their original values.
Created with the Personal Edition of HelpNDoc: Free EPub producer